Thursday, December 22, 2011

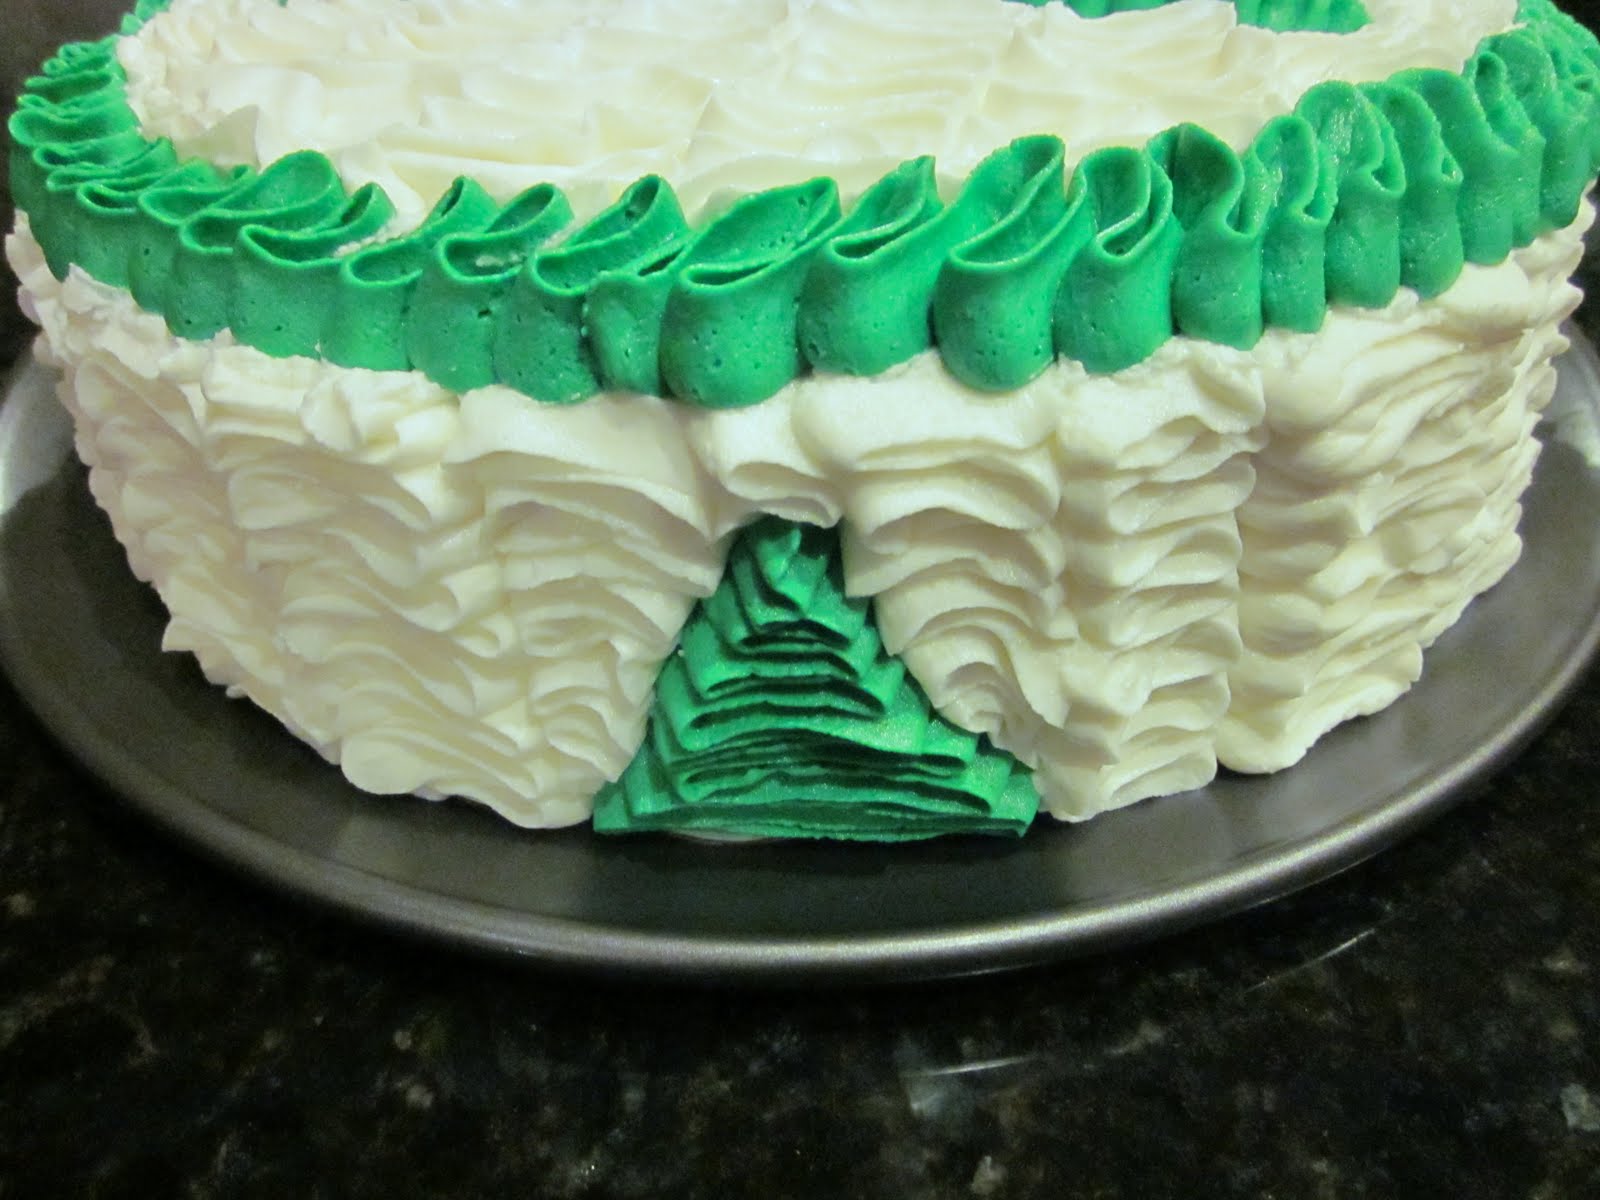
Ruffle Tree Cake


I've been wanting to try this out for almost a year! For a year I didn't realize I'd hate the final result... It looks better in pictures than in person. It actually looks messy. I saw a tutorial for a messy ruffle cake which looked really neat and I will have to try that.

The actual technique is super easy and quick... If you make enough frosting for your cake... which I did not. Rationing frosting creatively is not that fun when you're sleepy!

Original concept by Martha Stewart.

Wednesday, December 21, 2011

Pinwheel Cookies


I first saw cookies that looked like these on Pinterest and thought they looked gorgeous! Mine aren't quite as gorgeous, but they're great for anyone who prefers unfrosted cookies. Somehow I always know one or two of those weirdos.

Tuesday, December 20, 2011

Caramel chocolate pretzel sandwiches


If you haven't discovered Pinterest, I highly suggest it. If you need an invite let me know and I will send you one!

The original version of these involves a Hershey's Hug sandwiched between two pretzels. I took it a step further to involve caramel. Also, the store had sold out of hugs somehow so I used milk chocolate chips.

The basic idea is to place the pretzels on a cookie sheet and top with a Hug.
Preheat oven to 325 degrees
Place the pretzels with the hugs into the oven for 2 minutes.
Remove from oven and allow to sit for one minute
Top with another pretzel and gently smoosh.

Monday, December 19, 2011

Pretzel rods


I always love caramel pretzel sticks, but I didn't realize how much of a pain it would be to make them. I likely won't do this again anytime soon... I'm sure I was doing something really wrong. They taste great though!

Sunday, December 18, 2011

Soft Sugar Cookie Trees


I've made many many decorator sugar cookies with royal icing this week, but my true love will always be butter cream frosting.

Quilted Pillow

I'm finally finished with my classes so I have a little time to try out some things I'd been putting off.

My mom gave me some money for my birthday which I put towards a new sewing machine. In talking with some friends I got the idea that I'd like to try to make a quilt. Considering the time and skill level quilting takes I decided to try a miniature version to start with. I had one flaw, but it turned out overall ok and I really liked my new machine!


Gingerbread House


I was going to buy a gingerbread house kit, but my sister reminded me that they can be made. I've got enough pieces for a little competition and any potential mishaps...

The recipe can be found here.

I did a google image search for mini gingerbread house templates and saved and resized the image before printing out templates to cut the pieces. I just used a straight edged paring knife to cut the pieces and it worked well.


Sunday, December 4, 2011

Cherry Pineapple Cobbler


Ingredients
White boxed cake mix
1 can cherry pie filling
1 can pineapple chunks
1/2 cup melted butter

Directions
1. Preheat oven to 325 degrees.
2. Spread half of the dry cake mix in the bottom of your pan.
3. Mix pineapple and cherry pie filling in a separate bowl.
4. Spoon pineapple and cherry pie filling evenly over cake mix.
5. Sprinkle remaining dry cake mix over the top of the pineapple and cherry pie filling.
6. Drizzle melted butter across the top.
7. Bake at 325 degrees for 45 minutes to an hour.
8. Allow to cool a bit before serving.

Monday, November 28, 2011

Cinnamon Ornaments


My mom and I made cinnamon ornaments for the trees. They look like cookies, but are not at all edible. They are very easy to make and smell great!


Ingredients
3/4 cup applesauce
1 bottle (4.12 oz) ground cinnamon

Additional Supplies
cookie cutters
drinking straw
colorful ribbon

Directions
1. Preheat oven to 200 degrees.
2. Mix applesauce and cinnamon in a small bowl until a smooth ball of dough is formed. (You may need to use your hands to incorporate all of the cinnamon.)
3. Using about 1/4 of the dough at a time, roll dough out to 1/4 inch thickness between two sheets of plastic wrap.
4. Peel off the top sheet of plastic wrap.
5. Cut dough into desired shapes with 2 to 3 inch cookie cutters.
6. Make a hole at the top of the ornament with the drinking straw.
7. Place ornaments on baking sheet.
8. Bake 2 1/2 hours. (you may also dry the ornaments at room temperature, carefully place them on a wire rack and let stand 1 to 2 days or until thoroughly dry, turning occasionally.)
9. Cool ornaments on wire rack.
10. Insert ribbon through holes and tie to hang.
11. Decorate with opaque paint markers, found in arts and crafts stores, if desired.

DO NOT EAT!!!

Cinnamon ornaments original information can be found here.

Sunday, November 27, 2011

Cinnamon Roll and Cream Cheese Icing Recipe


Cinnamon Rolls
1 (1/4 oz) package dry yeast
1 cup warm milk
1/2 cup granulated sugar
1/3 cup margerine
1 tsp salt
2 eggs
4 cups flour

Filling
1 cup packed brown sugar
2 1/2 tbs cinnamon
1/3 cup butter, softened

Icing
8 tbs butter
1 1/2 cups powdered sugar
1 (8oz) package of cream cheese
1/2 tsp vanilla
1/8 tsp salt

Directions
1. For the rolls, dissolve yeast in the warm milk in a large bowl.
2. Add sugar, butter, salt, eggs, and flour. Mix well.
3. Dust your hands lightly with flour and knead the dough into a large ball.
4. Put in a bowl, cover, and place in a warm spot for about an hour until the dough has doubled in size.
5. Roll the dough out on a lightly floured surface to 1/4 inch thick. (approx 21 inches long by 16 inches wide).
6. Preheat oven to 400 degrees.
7. To make filling, combine the brown sugar and cinnamon in a bowl.
8. Spread the softened butter over the surface of the dough, then sprinkle the brown sugar and cinnamon mixture evenly over the butter.
9. Slowly roll the dough from the longer edge to the bottom of the longer edge forming a roll.
10. Cut the dough into 1 3/4 inch slices and place in a lightly greased baking pan. (you may also choose to cut your slices so that they fit nicely into paper baking cups for easier transporting and serving).
11. Bake for 10 minutes or until light golden brown.
12. While the rolls are baking combine the icing ingredients.
13. Beat well with an electric mixer until fluffy.
14. When rolls are done, spread generously with icing (or you can microwave each roll before serving and top with icing so that they are freshly warm).

I've had this recipe for quite a while and have mildly altered it from it's original. It's supposed to be a copycat of the Cinnabon cinnamon rolls. All I know is I love them!